Solution 3 employs collapsible styles, offering a streamlined approach. Should you wish to eliminate the arrow, transitioning the style to its standard form is necessary. If you seek direction in crafting a fresh style aligned with document formatting standards, perusing this article can provide valuable insights.
Getting Rid of the Arrow Element in Microsoft Word: Comprehensive Guidance
If you’ve found yourself frustrated by an arrow element in Microsoft Word and are not sure how to remove it, you’re not alone. Though it might seem like an insignificant detail, this feature can disrupt your workflow and complicate your document formatting. This guide aims to shed light on how you can effectively remove this feature for a seamless word processing experience.
Understanding the Arrow Element in Word
Known as the Expand/Collapse feature, the arrow element is present in all default heading styles in Word, except for ‘No Space’ and ‘Normal.’ This feature is handy for collapsing or expanding sections of text under specific headings, but for those who do not require this function, it could be an unnecessary hindrance. Unfortunately, you can’t directly disable this Expand/Collapse feature unless you opt for the ‘Normal’ style or create a custom style based on the ‘Normal’ formatting.
Here are some steps to guide you on how to remove all occurrences of expand/collapse in Word 2016:
- Open your Word document;
- Select the text or section with the expand/collapse feature;
- On the toolbar, navigate to the ‘Home’ tab;
- In the ‘Styles’ group, select ‘Normal’ or create a custom style based on ‘Normal’ formatting;
- Save your document.
Another Approach to Resolve the Issue
Notably, the presence of the “arrow” icon indicates that your text is formatted as Heading 1, Heading 2, etc. Modifying your text style can effectively remove this arrow, allowing for a cleaner view of your document. To accomplish this, you need to alter the document’s style to ‘Normal’ or any other style not associated with headings.
Follow these steps to modify your text style:
- Open your Word document;
- Highlight the text you want to change;
- Navigate to the ‘Home’ tab;
- Within the ‘Styles’ group, choose ‘Normal’ or another non-heading style;
- Over time, this simple trick can help maintain a professional and consistent look across your documents.
Remember, understanding and utilizing Word’s features to your advantage can significantly improve your overall productivity. This guide offers insights for the novice and the seasoned user alike, providing valuable tips on mastering Word’s formatting features.
Getting Rid of the Arrow Icons in Microsoft Word: A Detailed Guide
It’s not uncommon for users to be vexed by the arrow symbol that appears in Microsoft Word documents. This visual element, often known as the Expand/Collapse feature, can disrupt the visual flow and distract from the content. Despite several online searches, clear and concise instructions on how to remove these arrows remain elusive. This guide aims to provide comprehensive instructions to assist users in effectively removing this feature.
Unraveling the Presence of Arrow Elements in Word
The arrow symbol, better known as the Expand/Collapse feature, is not a glitch but a pre-set feature in Microsoft Word. It is available in all default heading styles, except for ‘No Space’ and ‘Normal’. Its primary function is to allow users to collapse or expand text sections under specific headings, enhancing readability, especially in longer documents. However, not everyone finds this feature useful. Some users might consider it a disruption, especially those who prefer a minimalistic and clean layout.
To abolish the Expand/Collapse feature from your Word document, follow these steps:
- Open your Word document;
- Highlight the text or section with the arrow icon;
- Go to the ‘Home’ tab in the toolbar;
- Locate the ‘Styles’ group;
- Choose ‘Normal’ or create a custom style rooted in ‘Normal’ formatting.
Another Way to Get Rid of the Arrow Icons
One noticeable detail when an arrow icon appears is that your text is likely formatted as Heading 1, Heading 2, and so forth. By clicking on the arrow, you can hide or show text categorized under a specific heading. If these arrows prove bothersome, changing the style of your text to ‘Normal’ or any other non-heading style will remove them.
Here are the steps to change the style:
- Open your Word document;
- Select the text you wish to change;
- Navigate to the ‘Home’ tab;
- In the ‘Styles’ group, select ‘Normal’ or any other non-heading style.
Altering the Outline Level to Remove Arrows
In dealing with extensive and complex documents, the Expand/Collapse feature enables you to minimize sections and focus on particular parts. The option to condense and expand parts of your document is governed by its outline level.

For example, if you use Word’s pre-existing styles and incorporate headings, you can swiftly assign an ‘outline level’ and enable the Expand/Collapse feature for specific sections. However, if the arrows become a distraction, changing the outline level to ‘body text’ or using the ‘Normal’ style can remove them.
Remember:
- The Expand/Collapse feature is inbuilt in all default heading styles from Word 2013 onwards;
- Creating a custom style based on ‘Normal’ formatting can override the default settings and remove the Expand/Collapse feature;
- Adjusting the outline level of your text to ‘Body Text’ can also remove the arrows.
By understanding the role of text style and outline level in Word, you can tailor your Word experience to suit your preferences. This guide provides a broad overview and step-by-step instructions to help both novice and experienced users enhance their document formatting skills.
Navigating Excel 2007: Removing the ‘Collapse’ Toolbar Above a Spreadsheet
When working extensively on spreadsheets, users may come across certain features that seem to create more confusion than convenience. A prime example of this is the ‘collapse’ toolbar, commonly appearing above your spreadsheet and accompanied by a series of numbered tabs and a plus sign.
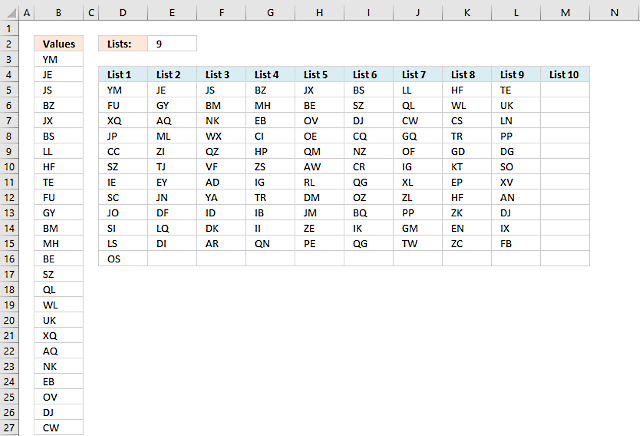
From the perspective of a seasoned Excel user, the ‘collapse’ toolbar – depicted in the image below – is actually quite handy. Located above sections such as ‘Air Travel’, it showcases a feature that allows specific content to be hidden or revealed based on the user’s needs.
However, understanding how to utilize or eliminate this toolbar could be taxing for those not familiar with Excel’s intricate features. If you’re keen on understanding how to use or remove this, read on – we’ve got you covered!
Removing the ‘Collapse’ Toolbar in Excel 2007
The toolbar in question is an integral part of Excel’s Group and Ungroup functionality found in the Data tab, specifically on the right side of the ribbon toolbar.
You can remove this feature by following these steps:
- Open the Excel spreadsheet;
- Select the Data tab from the ribbon toolbar;
- Locate the ‘Group’ button within the ‘Outline’ group;
- From the drop-down menu, click on ‘Ungroup.’
This will effectively disable the functionality, and the toolbar will disappear.
Understanding the Expand and Collapse Functionality
To further assist with document clarity, Microsoft Word 2016 offers an Expand and Collapse Text feature. This allows users to hide body text that might be consuming too much space on your page, thus improving the overall readability of your document. It helps by providing an organized view, especially when dealing with extensive text.
To use the Expand and Collapse Text function in Word 2016, follow these steps:
- Open your Word document;
- Click on the portion of the text you wish to collapse;
- Navigate to the ‘Home’ tab on the ribbon;
- Under the ‘Paragraph’ group, click on the small square with an arrow in the lower-right corner;
- In the dialogue box that appears, click on the ‘Tabs…’ button at the bottom;
- A new dialogue box will appear. Check the box for ‘Show text boundaries’ and click ‘OK.’
This action will allow you to effectively hide or reveal the body text in your document, based on your preference.
Remember, understanding and optimizing the features of Microsoft Office can significantly enhance your work efficiency and productivity. This guide provides insights and instructions to help both beginners and experienced users get the most out of these tools.
Conclusion
In conclusion, Solution 3 presents a practical application of collapsible styles, streamlining document presentation. Transitioning to a standard style format allows for the removal of unnecessary elements, enhancing clarity. For further guidance on developing bespoke styles tailored to document formatting requirements, the referenced article serves as a valuable resource.